Activating the CHPS Floating Licence |
  
|
Activating the CHPS Floating Licence |
|
This page covers the process for activating your CHPS Floating Licence.
1.Locate the Floating Licence Manager shortcut. This shortcut should have been deployed as part of process for Installing the Floating Licence Service Files. The location for shortcut file on a default setup will be: C:\Program Files (x86)\Geographic Business Solutions\CHPS\FloatingLicenceService\
2.Double-click the Floating Licence Manager shortcut to execute the Floating Licence Manager.
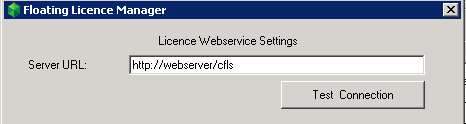
3.Test the connection to the Floating Licence Web Service by entering the service URL, then clicking Test Connection. Note that it is sufficient to enter just the path to the site (i.e. the service name FloatingLicenceService is optional). For example:
a.After clicking Test Connection, the tool will detect confirm that the service is running and accepting connections. If you didn't enter the full path to the service, the tool will rectify the URL to the full service URL. For example:
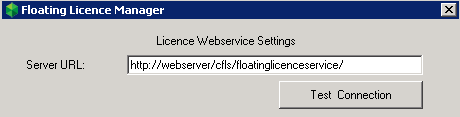
b.When a connection test is successful, the successful URL will be saved for future use.
4.Once the Web Service connection test has passed, click Manage Licence.
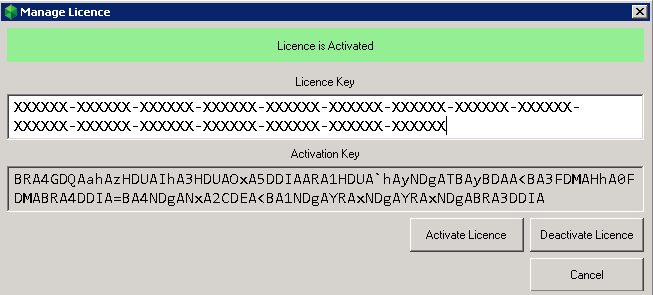
5.Paste in your activation key into the Licence Key textbox, then click Activate Licence
6.The CHPS Floating Licence Service should now be ready for CHPS clients to use. Optionally, you can check the status of the Floating Licence Web Service.